
How to Braise Meat in Tomato Sauce: Your Ultimate Guide to Fork-Tender Perfection
Table of Contents
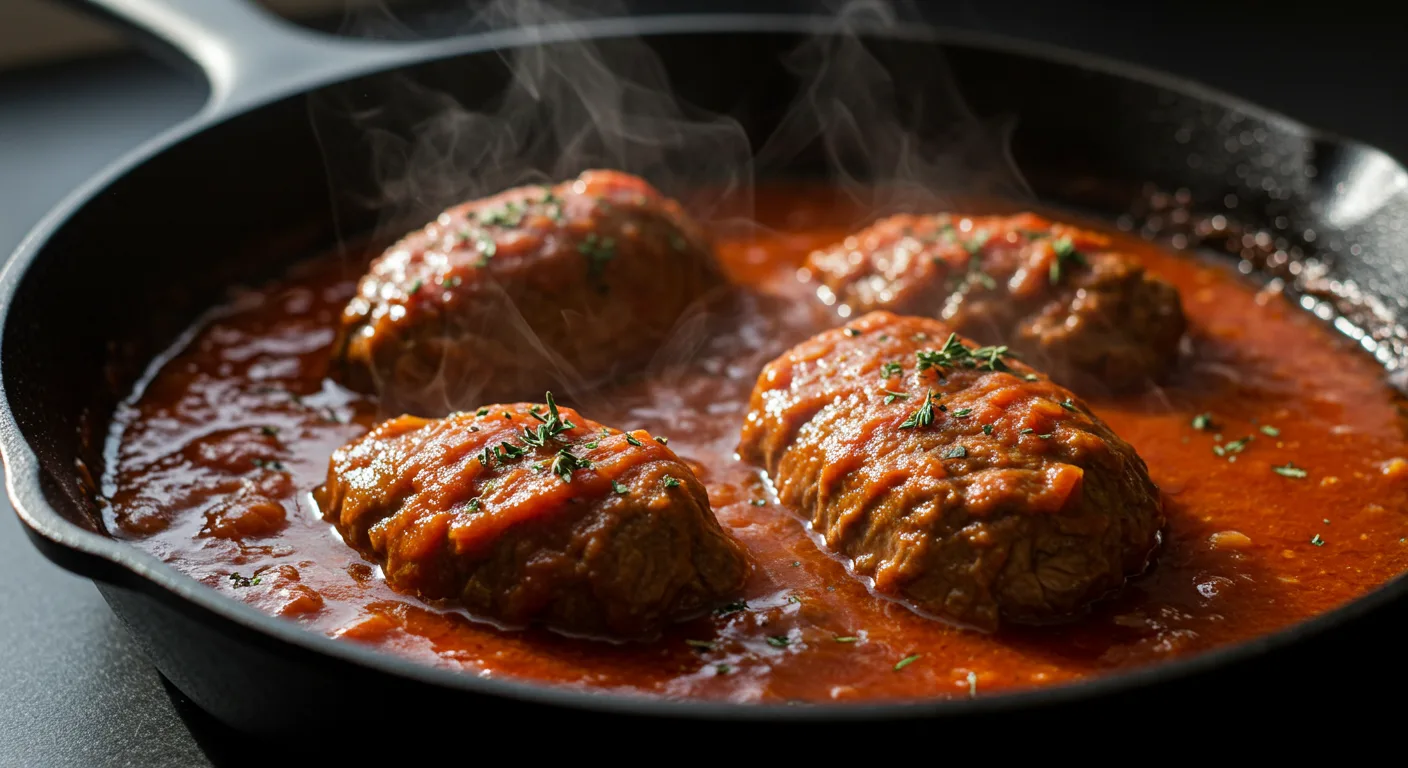
Picture yourself walking through your front door after a long day, immediately enveloped by the rich, comforting aroma of meat slowly simmering in a vibrant tomato sauce. That’s the magic of braising – a cooking technique that transforms even the toughest cuts into melt-in-your-mouth delicacies. Whether you’re a kitchen novice or a seasoned home chef, this comprehensive guide will walk you through creating restaurant-worthy braised meat that’ll have your family begging for seconds.
The Art and Science Behind Perfect Braising
Ever wondered why some cuts of meat become heavenly tender while others stay stubbornly tough? The secret lies in understanding the fascinating process of braising. When you combine low heat, time, and liquid, something remarkable happens: stubborn connective tissues break down into rich gelatin, while the meat fibers soften to create that coveted fork-tender texture.
Essential Equipment for Your Braising Journey
Before diving into the cooking process, gather these kitchen allies:
Your Must-Have Tools
- A heavy-bottomed Dutch oven (enameled cast iron works wonders)
- Sturdy tongs for precise meat handling
- A sharp chef’s knife for prep work
- A reliable wooden spoon
- A meat thermometer (while optional, it’s incredibly helpful)
Ingredients That Make Magic Happen
The Star Players
| Main Components | Quantity | Selection Tips |
|---|---|---|
| Tough cut meat | 3-4 lbs | Choose chuck roast, short ribs, or pork shoulder |
| Whole tomatoes | 28 oz can | Splurge on San Marzano for superior flavor |
| Yellow onions | 2 medium | Look for firm, heavy ones |
| Fresh garlic | 6-8 cloves | The fresher, the better |
| Carrots | 2 medium | Pick bright, crisp ones |
| Celery | 2 stalks | Select crisp, green stalks |
| Dry red wine | 1 cup | Something you’d enjoy drinking |
| Beef broth | 2 cups | Low-sodium gives better control |
Your Flavor Enhancers
Fresh herbs truly elevate your dish:
- Several sprigs of fresh basil
- A few stems of thyme
- 2-3 bay leaves
- Sea salt and freshly ground pepper
- A pinch of red pepper flakes (if you enjoy some heat)
Mastering the Braising Process
Preparation: Setting Yourself Up for Success
Begin your braising journey right:
- Remove your meat from the refrigerator 30 minutes before cooking
- Pat it thoroughly dry with paper towels
- Season generously with salt and pepper
- Dice your vegetables while the meat comes to temperature
The Crucial Sear
Your first step toward flavor town:
- Heat your Dutch oven over medium-high heat
- Add just enough oil to coat the bottom
- Once shimmering, add your meat
- Sear each side for 5-7 minutes until deeply golden
- Remove and set aside on a plate
Creating Your Flavor Foundation
Time to build layers of taste:
- Reduce heat to medium
- Add your diced vegetables to the pot
- Cook until they’ve softened and started to caramelize
- Stir in minced garlic and fresh herbs
- Pour in wine, scraping up those precious brown bits
- Add your tomatoes and broth
The Main Event: Braising
Now for the transformation:
- Nestle the meat back into the pot
- Bring everything to a gentle simmer
- Cover and transfer to a 325°F oven
- Let it work its magic for 2.5-3 hours
Professional Tips for Braising Success
Temperature Mastery
- Keep your liquid at a gentle simmer, never a boil
- Check liquid levels every hour
- Rotate meat if needed for even cooking
Flavor Enhancement
Your path to restaurant-quality results:
- Skim excess fat as it rises to the surface
- Taste and adjust seasonings throughout
- Let meat rest before serving
- Consider making it a day ahead – the flavors develop beautifully overnight
Serving Your Masterpiece
Your perfectly braised meat deserves the right accompaniments:
- Serve over al dente pasta
- Offer crusty bread for sauce-soaking
- Pair with a bold red wine
- Garnish with fresh herbs and a drizzle of your best olive oil
Storage and Reheating Guidelines
Make the most of your creation:
- Cool completely before refrigerating
- Store in an airtight container for up to 4 days
- Freeze portions for up to 3 months
- Reheat gently on the stovetop, adding a splash of broth if needed
Troubleshooting Common Challenges
When Your Meat Isn’t Tender Enough
- Solution: Keep cooking! Most tough meat just needs more time
- Check every 30 minutes until fork-tender
If Your Sauce Is Too Thin
- Remove meat and reduce sauce over medium heat
- Add a touch of tomato paste for body
For Too-Acidic Sauce
- Add a pinch of sugar
- Stir in a pat of butter
- Let it simmer longer
Frequently Asked Questions
What makes some cuts better for braising than others?
Tough cuts with lots of connective tissue yield the best results, as the long cooking process breaks down these tissues into rich, flavorful gelatin.
Can I use my slow cooker instead?
Absolutely! Still sear your meat first, then transfer everything to your slow cooker. Cook on low for 8-10 hours.
How do I know when it’s really done?
Your meat should easily yield to the gentle pressure of a fork, almost falling apart when you try to lift it.
What if I don’t want to use wine?
Simply substitute with additional beef broth and a splash of balsamic vinegar for depth.
Can I make this dish ahead for company?
Not only can you, but you should! The flavors develop beautifully overnight, making this the perfect make-ahead meal.
Your Next Steps to Braising Brilliance
Now that you’re armed with these professional insights and techniques, it’s time to embark on your own braising adventure. Remember, great cooking is about patience and practice. Start with this foundation, then experiment with different meats, seasonings, and accompaniments to create your signature dish.
Ready to begin? Gather your ingredients, preheat that oven, and prepare to fill your home with irresistible aromas. Share your braising success stories in the comments below, or tag us in your social media posts – we’d love to see your creations!
Pro Tip: Save this guide for future reference, and don’t forget to sign up for our newsletter for more expert cooking tips and recipes delivered straight to your inbox.